LinearLayout
Mark Allison
 v2.4 alpha 7
All of the examples in this article have been created using Android Studio v2.4 alpha 7.
v2.4 alpha 7
All of the examples in this article have been created using Android Studio v2.4 alpha 7.
You may see differences if you are using a different version.
 v1.1+
All of the examples in this article have been created using ConstraintLayout v1.1+.
v1.1+
All of the examples in this article have been created using ConstraintLayout v1.1+.
You may see differences if you are using a different version.
LinearLayout
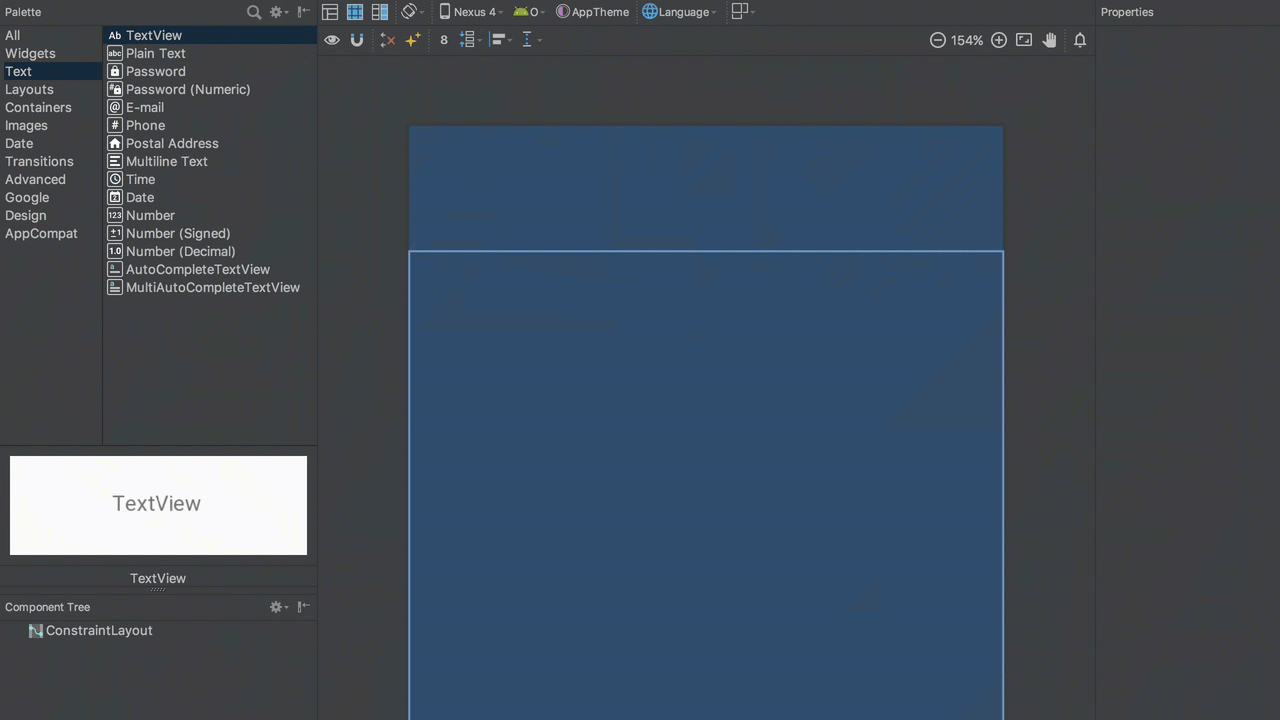
Flowed Behaviour in Editor
The basic behaviour of LinearLayout is to flow its children in either a horizontal or vertical direction, depending on the orientation. Achieving that is really simple in the editor. To create the same behaviour as a vertical LinearLayout is simply a case of adding additional views, and then constraining the top of each view to the bottom of the view immediately above it:
Flowed Behaviour in XML
To achieve this in XML we just create a app:layout_constraintTop_toBottomOf constraint from a view to the one preceding it in the flowed layout:
<?xml version="1.0" encoding="utf-8"?>
<androidx.constraintlayout.widget.ConstraintLayout
  xmlns:android="http://schemas.android.com/apk/res/android"
  xmlns:app="http://schemas.android.com/apk/res-auto"
  xmlns:tools="http://schemas.android.com/tools"
  android:layout_width="match_parent"
  android:layout_height="match_parent"
  tools:context=".MainActivity">

  <TextView
    android:id="@+id/textView1"
    android:layout_width="wrap_content"
    android:layout_height="wrap_content"
    android:layout_marginStart="16dp"
    android:layout_marginTop="16dp"
    tools:text="TextView"
    app:layout_constraintLeft_toLeftOf="parent"
    app:layout_constraintTop_toTopOf="parent" />

  <TextView
    android:id="@+id/textView2"
    android:layout_width="wrap_content"
    android:layout_height="wrap_content"
    android:layout_marginStart="16dp"
    android:layout_marginTop="8dp"
    tools:text="TextView"
    app:layout_constraintLeft_toLeftOf="parent"
    app:layout_constraintTop_toBottomOf="@+id/textView1" />

  <TextView
    android:id="@+id/textView3"
    android:layout_width="wrap_content"
    android:layout_height="wrap_content"
    android:layout_marginStart="16dp"
    android:layout_marginTop="8dp"
    tools:text="TextView"
    app:layout_constraintLeft_toLeftOf="parent"
    app:layout_constraintTop_toBottomOf="@+id/textView2" />

  <TextView
    android:id="@+id/textView4"
    android:layout_width="wrap_content"
    android:layout_height="wrap_content"
    android:layout_marginStart="16dp"
    android:layout_marginTop="8dp"
    tools:text="TextView"
    app:layout_constraintLeft_toLeftOf="parent"
    app:layout_constraintTop_toBottomOf="@+id/textView3" />
</androidx.constraintlayout.widget.ConstraintLayout>
Weighted Behaviour in Editor
To create the equivalent of a weighted LinearLayout we must first create a chain as detailed here:
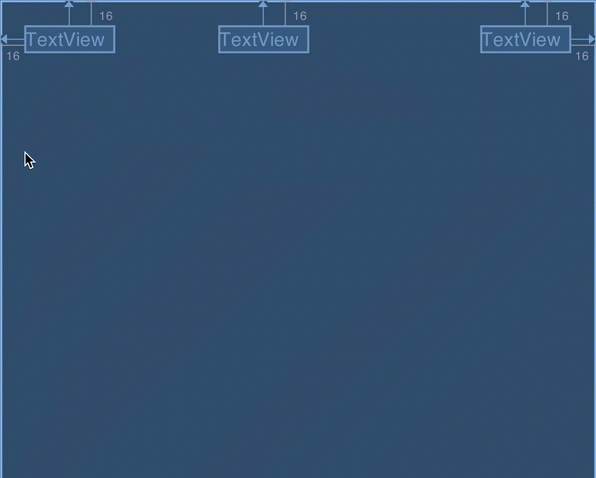
Now that a chain is set up, all we need to do is apply weights to individual views within the chain. This can be done by setting the view’s layout_width to either match_constraint or 0dp (they are the same thing), and then applying a weight. In this case we use a horizontal weight because it is a horizontal chain:
And we can now see this behaviour in the blueprint view:

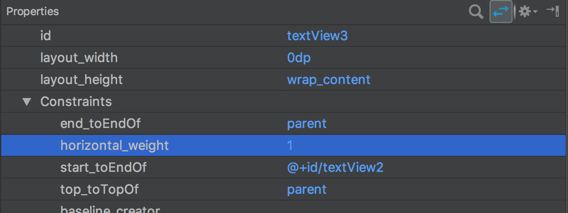
Weighted Behaviour in XML
To do this in XML we set android:layout_width="0dp" and app:layout_constraintHorizontal_weight="1" on textView3:
<?xml version="1.0" encoding="utf-8"?>
<androidx.constraintlayout.widget.ConstraintLayout
  xmlns:android="http://schemas.android.com/apk/res/android"
  xmlns:app="http://schemas.android.com/apk/res-auto"
  xmlns:tools="http://schemas.android.com/tools"
  android:layout_width="match_parent"
  android:layout_height="match_parent"
  tools:context="com.stylingandroid.scratch.MainActivity">

  <TextView
    android:id="@+id/textView"
    android:layout_width="wrap_content"
    android:layout_height="wrap_content"
    android:layout_marginStart="16dp"
    android:layout_marginTop="16dp"
    app:layout_constraintEnd_toStartOf="@+id/textView2"
    app:layout_constraintHorizontal_chainStyle="spread"
    app:layout_constraintStart_toStartOf="parent"
    app:layout_constraintTop_toTopOf="parent"
    tools:text="TextView" />

  <TextView
    android:id="@+id/textView2"
    android:layout_width="wrap_content"
    android:layout_height="wrap_content"
    android:layout_marginTop="16dp"
    app:layout_constraintEnd_toStartOf="@+id/textView3"
    app:layout_constraintStart_toEndOf="@+id/textView"
    app:layout_constraintTop_toTopOf="parent"
    tools:layout_editor_absoluteX="141dp"
    tools:text="TextView" />

  <TextView
    android:id="@+id/textView3"
    android:layout_width="0dp"
    android:layout_height="wrap_content"
    android:layout_marginEnd="16dp"
    android:layout_marginTop="16dp"
    app:layout_constraintEnd_toEndOf="parent"
    app:layout_constraintHorizontal_weight="1"
    app:layout_constraintStart_toEndOf="@+id/textView2"
    app:layout_constraintTop_toTopOf="parent"
    tools:text="TextView" />

</androidx.constraintlayout.widget.ConstraintLayout>
The value in the app:layout_constraintHorizontal_weight is applied in exactly the same way as android:layout_weight in LinearLayout - the available space is divided up based on the ratios of the weights of each view.